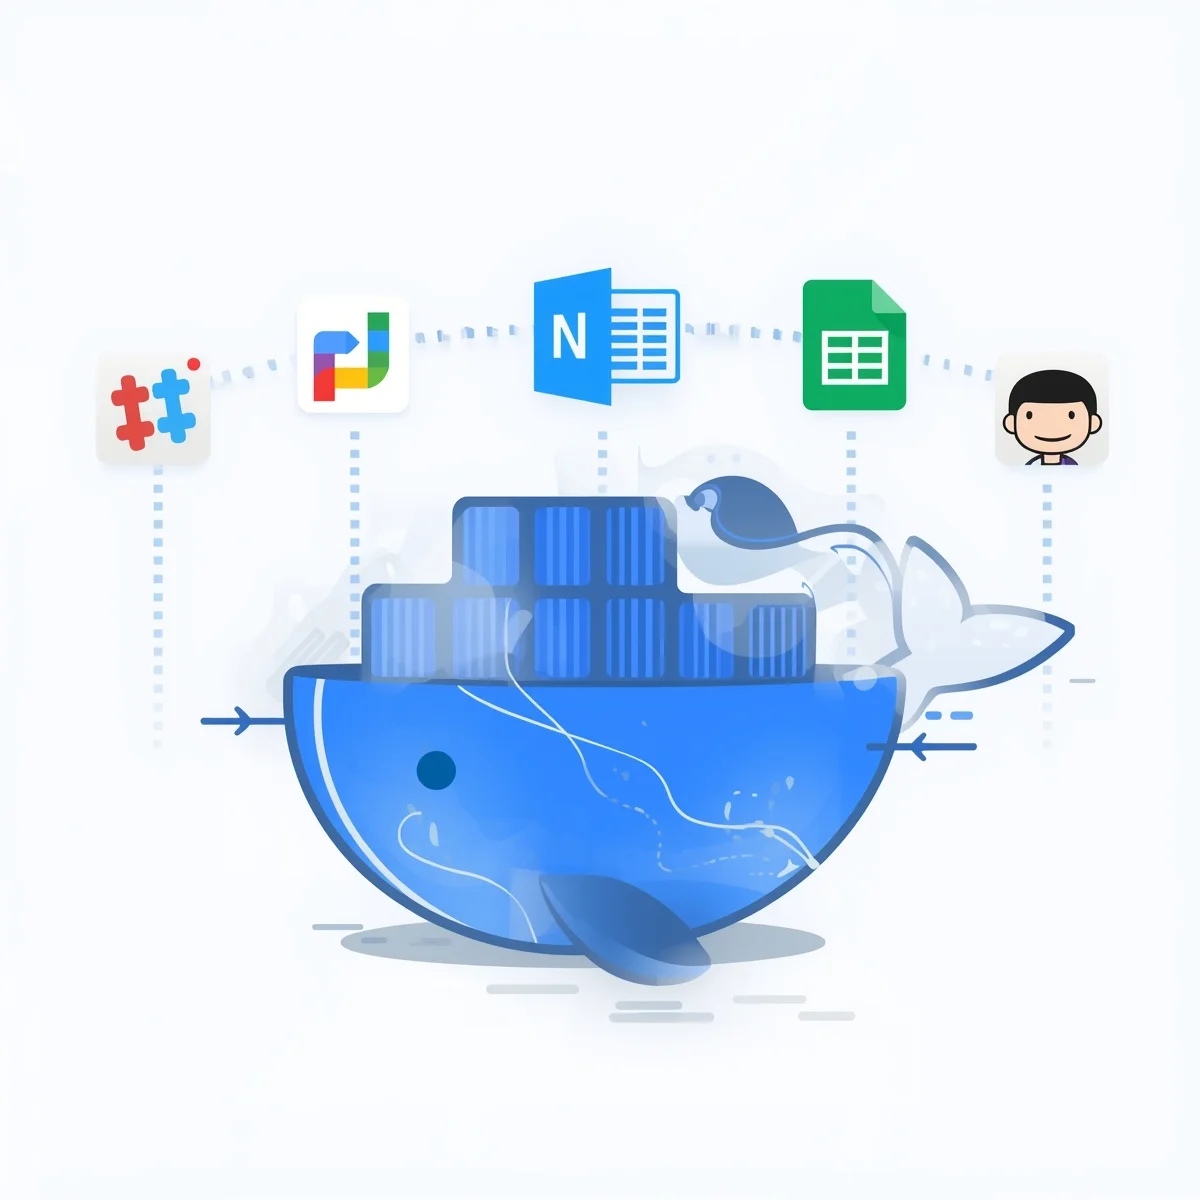
In the world of automation, it’s essential to have a tool that runs smoothly, efficiently, and without complex setup. That’s why Docker has become one of the most popular ways to run n8n — a powerful open-source platform for creating automated workflows.
By using n8n Docker, you gain flexibility, security, and easy management, making it an ideal choice for both developers and businesses looking to streamline their processes.
🐳 How to Install and Run n8n with Docker
Automation is all about efficiency — and when it comes to deploying n8n, using Docker is one of the most powerful and flexible approaches.
In this guide, we’ll explore how to set up n8n Docker, configure it for workflows, and understand why it’s the best option for developers and teams looking for performance, stability, and scalability.
Why Use n8n Docker for Automation Workflows
n8n Docker allows you to run your automation environment in isolated containers, making it easy to deploy, update, and scale.
Instead of installing n8n manually, Docker wraps everything into a single image that runs the app consistently across any system — whether it’s your local machine, VPS, or cloud server.
Advantages of using n8n with Docker:
Easy installation with one command
No dependency conflicts or environment issues
Fast updates via Docker pull
Simple scaling with Docker Compose or Kubernetes
Works perfectly for self-hosted setups
If you’re planning to build powerful n8n workflows that need reliability, Docker is the way to go.
Step-by-Step n8n Docker Installation Guide
Let’s look at how to install n8n in Docker in just a few steps.
1. Install Docker and Docker Compose
Download and install Docker from docker.com.
Once installed, verify with:
docker –version
docker compose version
2. Pull the official n8n Docker image
Run the command:
docker pull n8nio/n8n
3. Start n8n with Docker
Launch n8n using:
docker run -it –rm \
-p 5678:5678 \
-v ~/.n8n:/home/node/.n8n \
n8nio/n8n
Now, open your browser and go to http://localhost:5678 — you’ll see the n8n interface ready to use.
You can begin building your first n8n workflow right away.
Configuring n8n Docker for Custom Workflows
The real power of n8n Docker comes from its environment variables.
You can define them in a .env file or directly in your docker-compose.yml to customize your setup.
Example docker-compose.yml:
version: “3.3”
services:
n8n:
image: n8nio/n8n
ports:
– “5678:5678”
environment:
– N8N_BASIC_AUTH_ACTIVE=true
– N8N_BASIC_AUTH_USER=admin
– N8N_BASIC_AUTH_PASSWORD=securepassword
volumes:
– ~/.n8n:/home/node/.n8n
This configuration protects your n8n instance with basic authentication and stores workflows locally.
You can also connect n8n to PostgreSQL or Redis for advanced setups — perfect for production-grade automation.
How to Update and Manage Your n8n Docker Container
Updating your n8n Docker instance is easy. Just run:
docker pull n8nio/n8n
docker compose down
docker compose up -d
You can use Docker commands to check logs, stop containers, or restart services:
docker logs n8n
docker restart n8n
If you’re hosting n8n.io self-hosted version, Docker ensures smooth maintenance without downtime — ideal for businesses running multiple workflows daily.
Troubleshooting Common n8n Docker Issues
Here are a few common problems and quick solutions:
Port 5678 is busy: Change it in
docker-compose.yml.Permission errors: Make sure your volume folder has the correct write access.
Workflows not saving: Check your mounted volume path (
~/.n8n).
Docker’s logs are your best friend — use them to quickly identify issues before they affect automation.
Conclusion
Running n8n with Docker is the smartest way to combine automation with scalability.
It’s easy to deploy, simple to maintain, and gives you full control over your n8n workflows.
Whether you’re experimenting locally or managing production systems, n8n Docker helps you achieve reliable automation with minimal effort.
Start today with n8n.io and experience the power of containerized workflow automation.